


【Review】HeimVision HMD2 Battery Powered Security Camera review

Credit: the gadgeteer.com
Source: https://the-gadgeteer.com/2020/04/24/heimvision-hmd2-battery-powered-security-camera-review/
REVIEW – What are the features that you look for in a good outdoor home security camera? A battery-powered or solar-powered wire-free design? No monthly subscriptions? Easy installation? Today I want to show you the HeimVision HMD2 Battery Powered Security Camera which ticks all those boxes. Let’s take a closer look.
What is it?
The HeimVision HMD2 is a battery-powered security camera that you can use indoors or outdoors due to his weatherproof design.
What’s in the box?
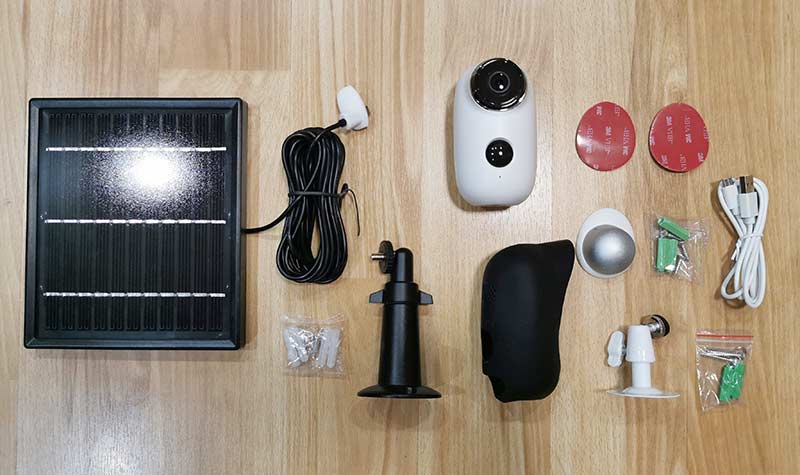
- HeimVision HMD2 Battery Powered Security Camera
- Magnetic mount with hardware
- Metal stand with mounting hardware
- USB charging cable
- Solar panel
- Solar panel mounting hardware
- Protective camera skin
Design and features
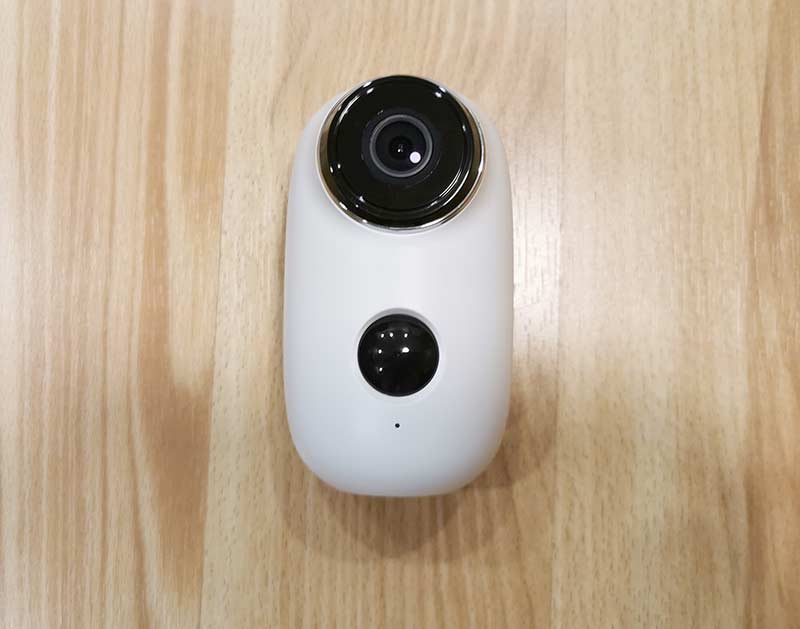
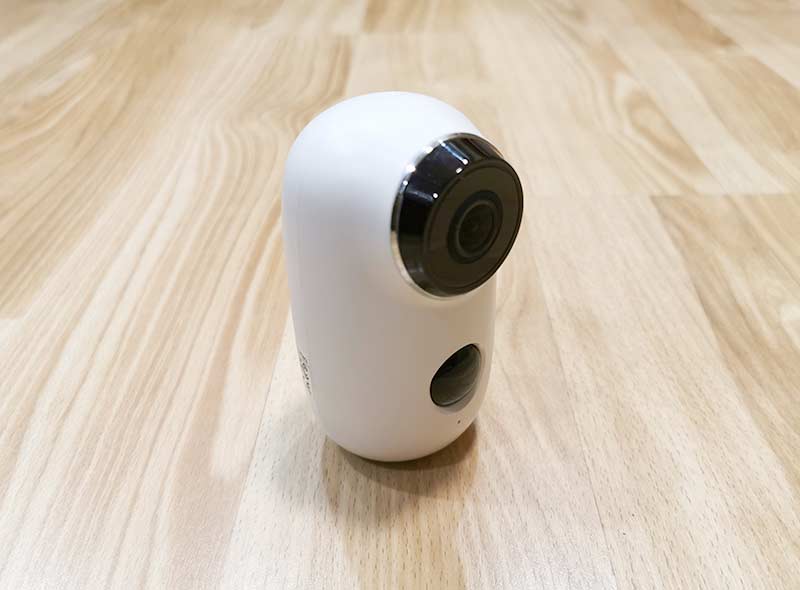
The HMD2 is a cute little camera that’s mostly white except for the 1080P lens at the top that has a chromed ring around it and the IR sensor in the center with a microphone below it.
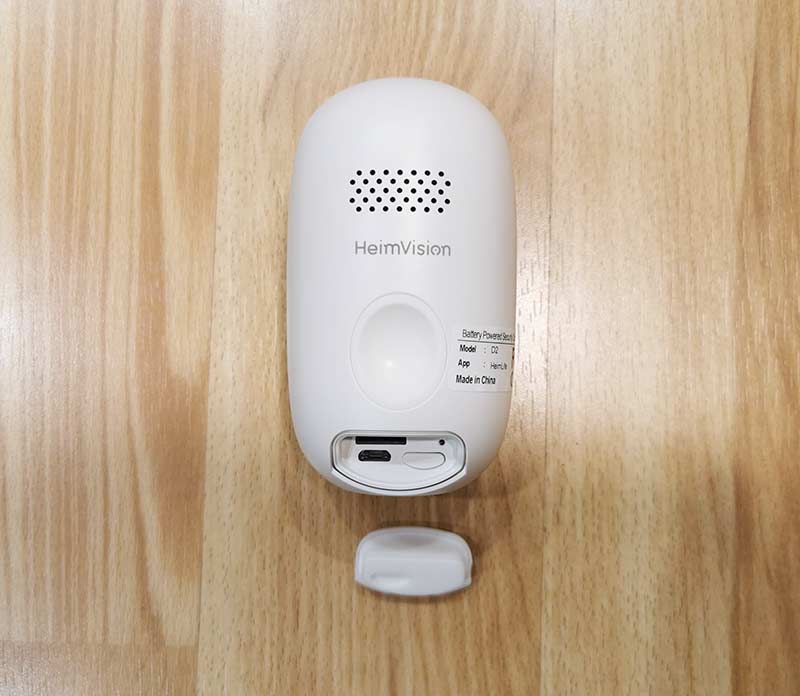
On the back of the camera, you will find the speaker grill, an indentation for the included magnetic mount, and at the bottom is a removable cover that protects the micro SD card slot, micro USB connector, and the reset switch.
Installation
The first thing you need to do is charge the camera’s internal 6000mAh battery using the included USB cable. Once charged, the camera will be operational for up to 4 months per charge (for around 10 motion alerts per day). If you don’t want to worry about charging the camera, you can also use the optional dedicated HMS1 solar panel that HeimVision sells for $35.99. You’ll need to mount the panel somewhere where it will have exposure to the sun though…
I’ve been testing the camera with the solar panel for the past couple of weeks and the battery levels are still at 90% even with all the testing that I’ve been doing.
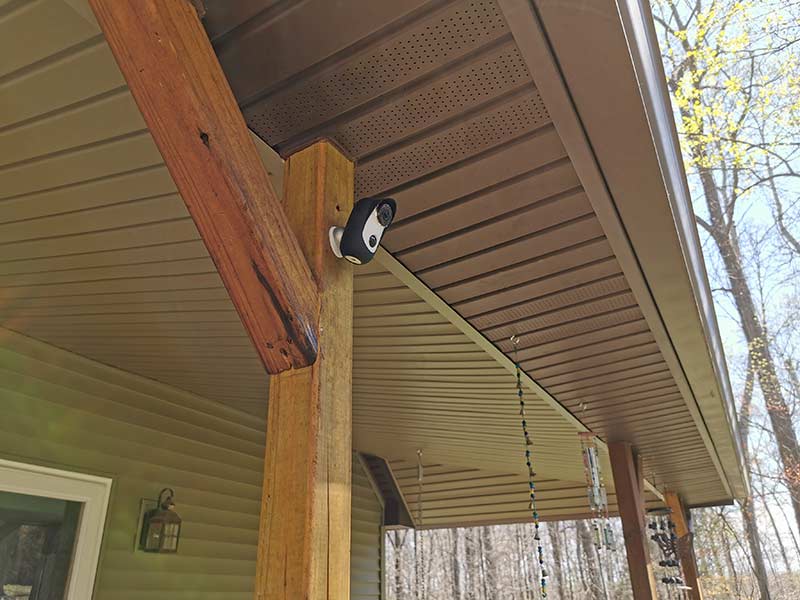
The camera can be mounted in 3 different ways. You can just set it on a flat surface, you can use the magnetic mount, or you can use the bracket. I used the magnetic mount to attach the camera to my front porch. I also used the included protective suit since I will be using the camera outdoors.
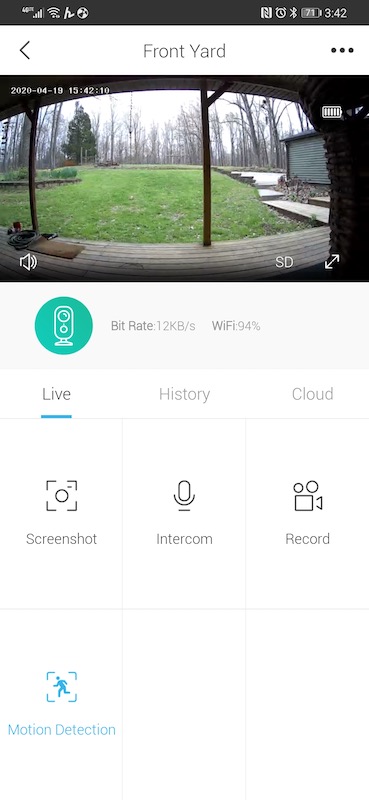
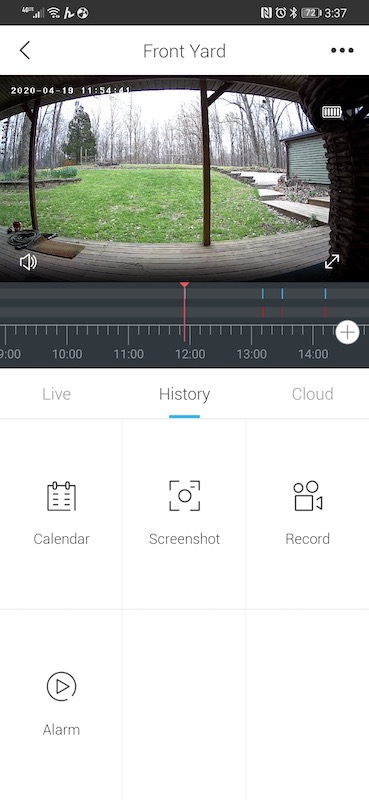
HeimVision app

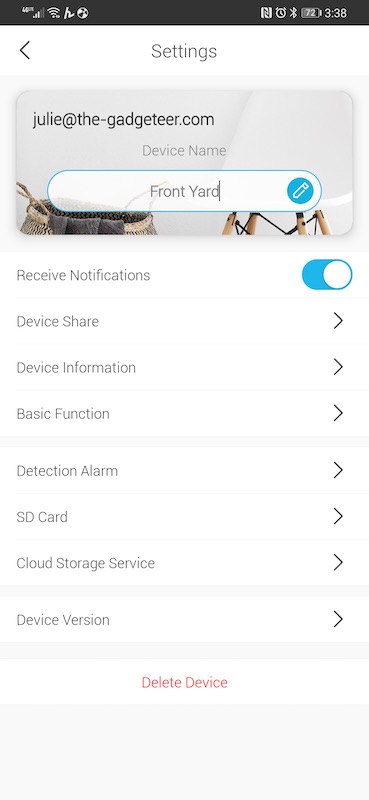
The app will let you watch a live view of the camera(s) and will let you customize some basic settings. I was surprised that there’s no scheduling feature or a zone feature to only monitor a specific area.
There’s also no way to turn off the microphone which means that you’ll hear what’s going on when you are watching the live view or captured motion alerts.
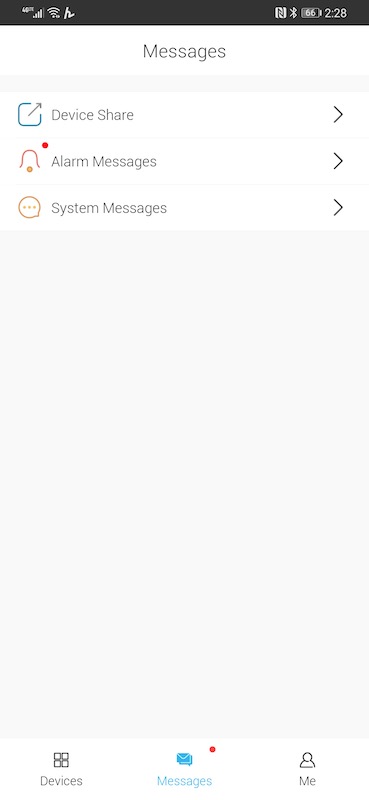
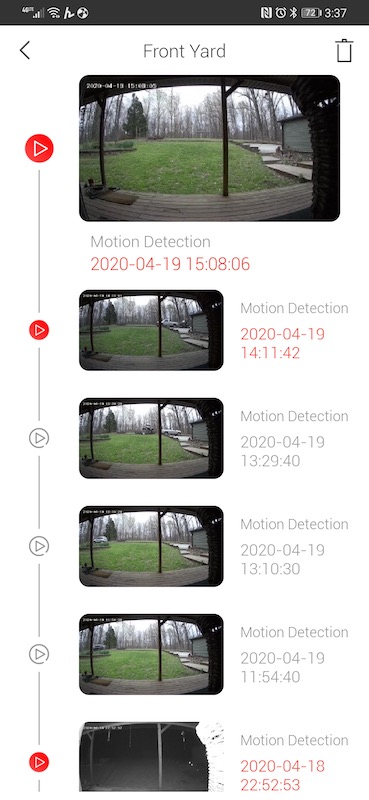
The app will send a notification to your phone when motion has been detected, but if you click the notification, it will just take you to the main view of the app. It’s up to you to navigate to the messages screen to watch the captured clip.
Note that the HMD2 uses a PIR sensor, which means that it uses heat to detect motion. This also means that if you position the camera to view out a window, it will not detect any motion due to the glass.
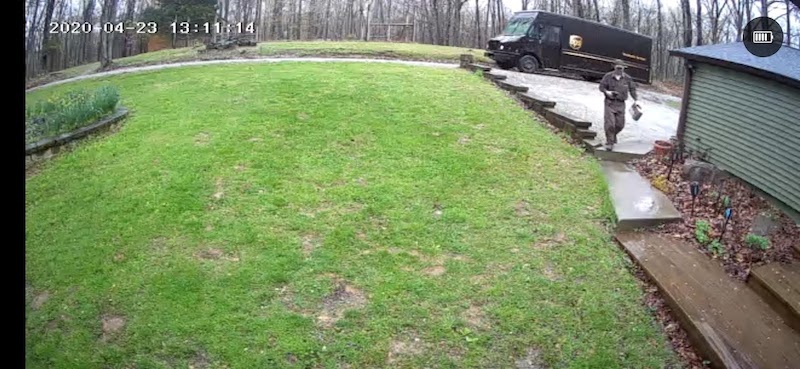
Here’s a live view during the day (gloomy day).
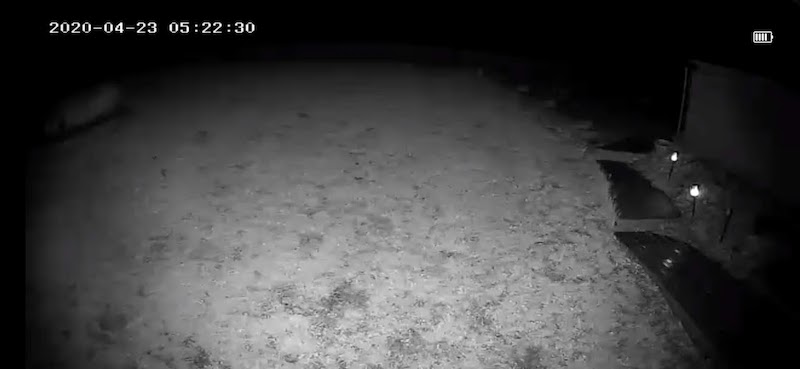
And here’s the same view at night.
What I like
- Wire free
- Long-lasting battery
What I’d change
- Add a scheduling feature
- Add ability to turn off sound while watching the live view
- Keep the app alive so that the notifications won’t stop
Here's how you can invite your friends
invite your friends on facebook
invite your friends on Twitter